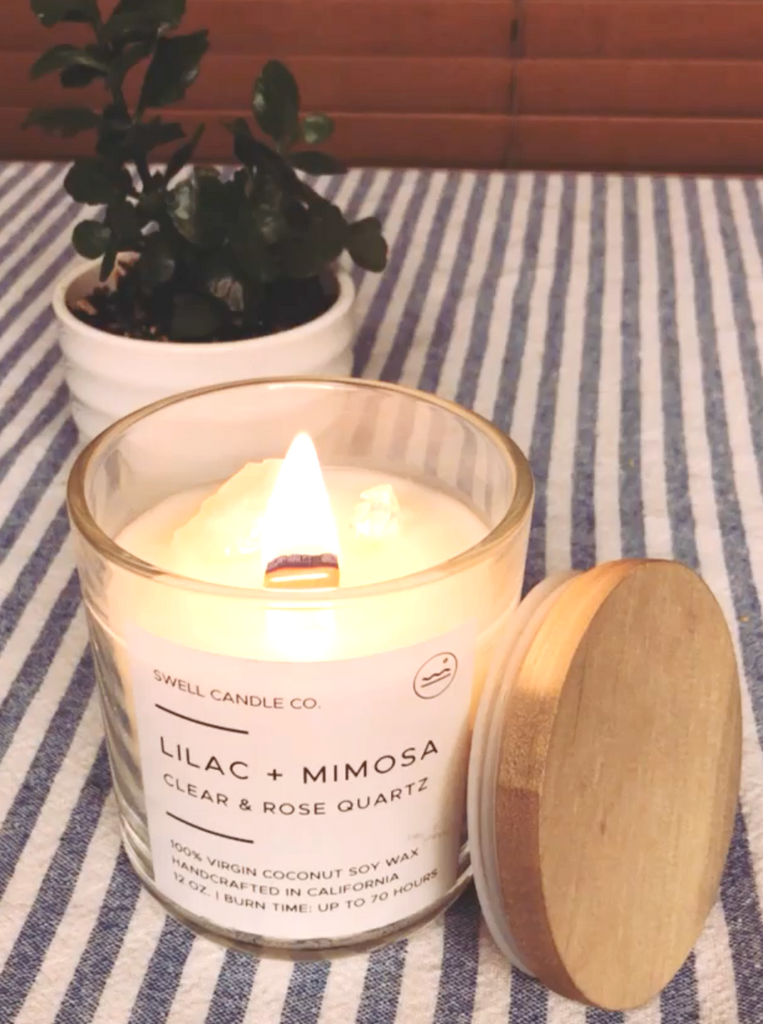
Come prepared. You need a wick trimmer (I recommend Wickman) and long matches. Trim your wick to the ideal length—¼ inch—and make sure none of the trimmings remain in the wax: Debris in the candle causes the flame to flicker too high, which leads to soot and blackening of the glass.
Burn, baby, burn. The first burn is the most important—the candle wax must pool to the edge on the initial burn. Wax has memory, meaning that if your candle doesn't burn to the edges, it will begin to tunnel and won't burn evenly the next time. Keeping the candle away from airstreams like open AC vents, windows, or fans is crucial.
But don't burn out. "In the perfect scenario, a person would burn their candles for four hours each time and not more than once every 24 hours to prolong the life of that candle. Burning for more than four hours can cause the wick to form a mushroom (or carbon deposit) on the tip and the more carbon, the more soot and smoke.
Troubleshoot tunnels. There are three ways to fix tunnels and even out a candle:
- If the tunneling isn't very bad, lay the candle on its side and use your lighter to melt the wax away from the wick and pour it into the trash. Relight your candle and make sure that you allow the wax pool to reach the edge before blowing it out. This will be messy as the wax will turn black when melting it.
- Cut out the wax that is above level of the wick with a butter knife.
- Remove the wax after it’s melted with a cotton ball or paper towel. After removing enough melted wax so that the wick is above the melt pool the candle should begin to burn properly.
Keep it clean. I recommend a wet wipe as it catches all of the dust and leaves no residue behind. Do not use alcohol as it could cause a chemical reaction and it could interact with the fragrance oils.


Leave a comment